Arena 2 poses an entirely new set of challenges for players, compared to Goblin Stadium.
To win matches in the Bone Pit, you’ll need a strong set of cards, knowledge of what each one does, and how to best use them.
In this guide, we’ll teach you all of this, while showcasing the best Clash Royale decks for Arena 2, so you can climb with ease.
The Best Clash Royale Deck for Arena 2
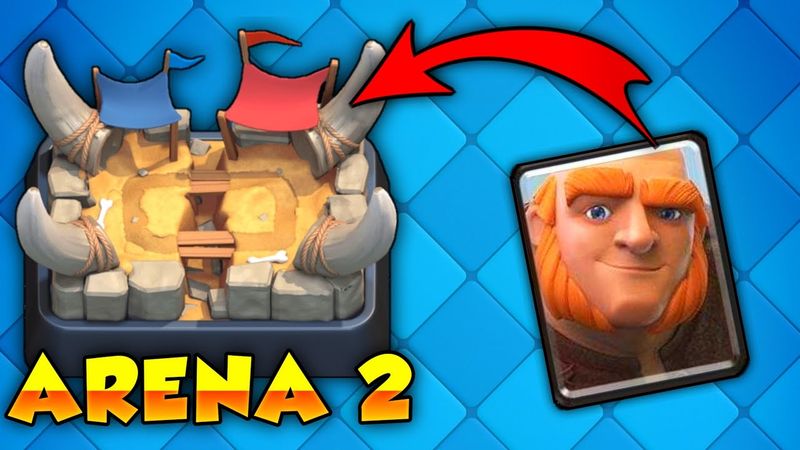
The Giant is the best card for the early game, providing a solid foundation for most meta decks. However, that doesn’t mean you can simply fill the rest of your lineup with random picks. To help you build a stronger strategy, we’ll review the best cards for Arena 2 and explain why each one can make a real difference.
The Deck:
Giant: This is the main card we’d like to recommend for Bone Pit. It provides a solid foundation, enabling you to experiment with different strategies.
Bomber: The ground-clearing specialist will give you a massive advantage against horde enemies, such as skeleton armies and goblin gangs.
Musketeer: The versatile backline protector can shoot in the air as well as take out ground targets.
Minions: Minions are fast, cheap, and perfect for eliminating units that can’t fight against aerial characters.
Archers: The reliable ranged duo provides excellent support for a push or a split-lane defense.
Spear Goblins: Spear Goblins provide quick, poking damage at a low cost. They are also perfect for chipping away at towers or luring troops.
Fireball: Fireball is excellent for eliminating different targets, ranging from a Witch to a pack of Barbarians.
Goblin Hut: This card continuously sends troops down a lane, creating a slow-burning threat your opponent can’t ignore.
The Strategy for Destruction
The philosophy here is beautiful and direct: build an unstoppable force. Your game plan should revolve around constructing the perfect push that your opponent will find impossible to dismantle.
It begins with the Giant. Deployed from behind your King Tower, he pushes forward, soaking up damage like a heavyweight champ. As he crosses the bridge, you bring in the support. The Bomber trots behind him, clearing a path by turning swarms of skeletons and goblins into dust. The Musketeer follows at a safe distance, her rifle picking off enemy Minions, Baby Dragons, and any other high-value target that dares to show itself.
The Goblin Hut is your opening move, placed in the center, it forces your opponent to react while providing a steady stream of Spear Goblins to support your pushes or defend against theirs. Every second it remains on the field, it generates value, chipping away at enemy towers or pulling a charging Prince off his path.
This deck for Arena 2 will provide you with an overwhelming, strong, coordinated power that will eliminate a lot of different lineups.
It’s also a versatile deck, as you can use it to defend, build an elixir advantage, and then unleash a counter-push that is simply too much to handle.
You might also like
Step-by-Step Arena 2 Game Plan
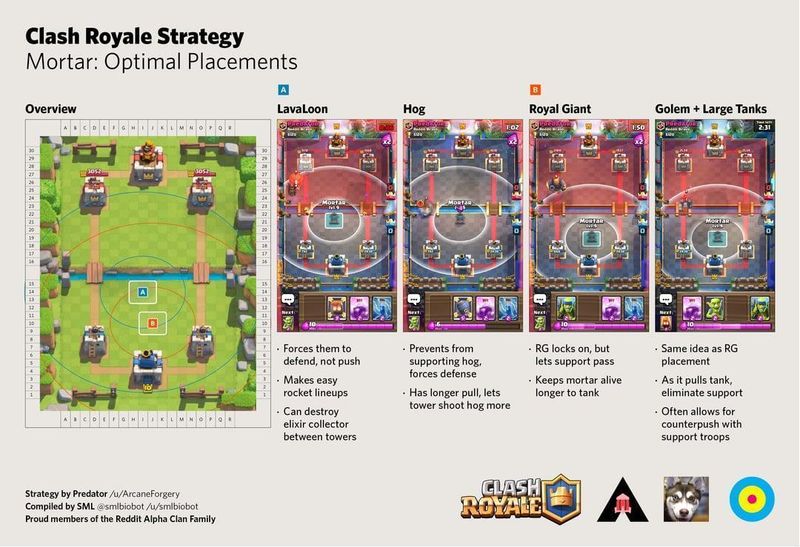
Follow this rhythm to control the pace of every match.
The Opening Gambit: If the Goblin Hut is in your starting hand, play it. This establishes early pressure and gives you a defensive anchor. Alternatively, you can wait for your opponent to make the first move.
Building the Perfect Push: Once you have a full elixir bar, start your Giant from the very back. This maximizes your elixir generation as he walks to the bridge. As he approaches the river, deploy your Bomber and Musketeer behind him. The timing is vital in this situation. If you run too soon or too late, your Giant will be left alone.
The Counter-Punch: An opponent sends a Knight or Mini P.E.K.K.A.? Let your tower and some cheap troops like Spear Goblins or Minions handle the defense. The surviving forces can then become the vanguard for your own counter-attack, supported by a freshly deployed Giant; you can turn their offense into your opportunity.
Finishing with Fireball: Don’t waste it on a lone tower. Wait for the perfect moment, and use it to obliterate the Witch, Wizard, or Musketeer they place to defend against your Giant. Hitting their troop and their tower is how you generate massive value and clear the path to victory.
Offensive Push vs. Defensive
While the Giant-Hut is excellent for applying pressure, a slight variation offers a more defensive posture. You can do this by swapping the Goblin Hut for a Tombstone and the Fireball for Arrows, creating a deck that excels at shutting down single-target threats.
Feature | Giant & Goblin Hut Deck | Giant & Tombstone Deck |
|---|---|---|
Primary Game Plan | Sustained offensive pressure | Defensive counter-pushing |
Key Building | Goblin Hut: Applies constant chip damage and supports pushes. | Tombstone: A defensive magnet for tanks like Giant and Prince. |
Main Spell | Fireball: High-impact removal for medium-health troops. | Arrows: Low-cost swarm control against Skeleton Army and Minions. |
Best Against | Slower decks that struggle with constant lane pressure. | Decks built around single-target units like Prince or Mini P.E.K.K.A. |
Learning Focus | Teaches offensive momentum and pressure management. | Teaches defensive placement and reactive counter-attacks. |
Both decks are excellent choices for Arena 2. Your choice simply depends on your personal style: do you prefer to be the aggressor, or the player who turns an opponent’s attack against them?
Know Your Cards
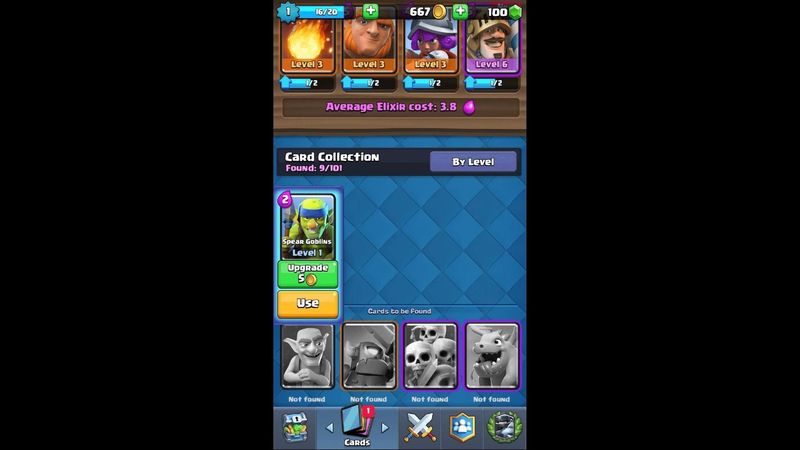
Understanding each card’s role is crucial to understanding how the deck functions.
The Giant: His job is to absorb every blow so that your damage-dealers can do their work untouched. You’ll want to protect him.
The Bomber: He is the reason your Giant doesn’t get bogged down by a pesky Skeleton Army. Place him carefully behind your tank, and watch him work his magic.
The Musketeer: Her long-range allows her to target threats from a safe distance, hitting both ground and air targets. She is your answer to a Baby Dragon and your clean-up crew for a Valkyrie.
The Spells: Fireball and Arrows are tools of pure potential, and a well-aimed spell can swing the elixir trade dramatically in your favor. Learn to anticipate where your opponent will group their troops and exploit their weaknesses.
Your Reign Begins Now
You now possess the knowledge and the tools to conquer the Bone Pit.
Ready to see how your growing collection measures up? Use our Clash Royale Account Value Calculator to get an instant analysis.
Or, if you’re looking to jump straight into higher-level play, explore our selection of premium Clash Royale Accounts to start your journey at the top!

